The Fluffiest Cheese and Ham Bread Rolls
These buns have to be the easiest rolls you will ever make. They are so fluffy and are still great to eat the next day. Try these rolls you won’t regret it!
Homemade Cheesy Ham Soft Bread Rolls
Perfectly fluffy, savoury, and freezer-friendly – these rolls are a must-bake!
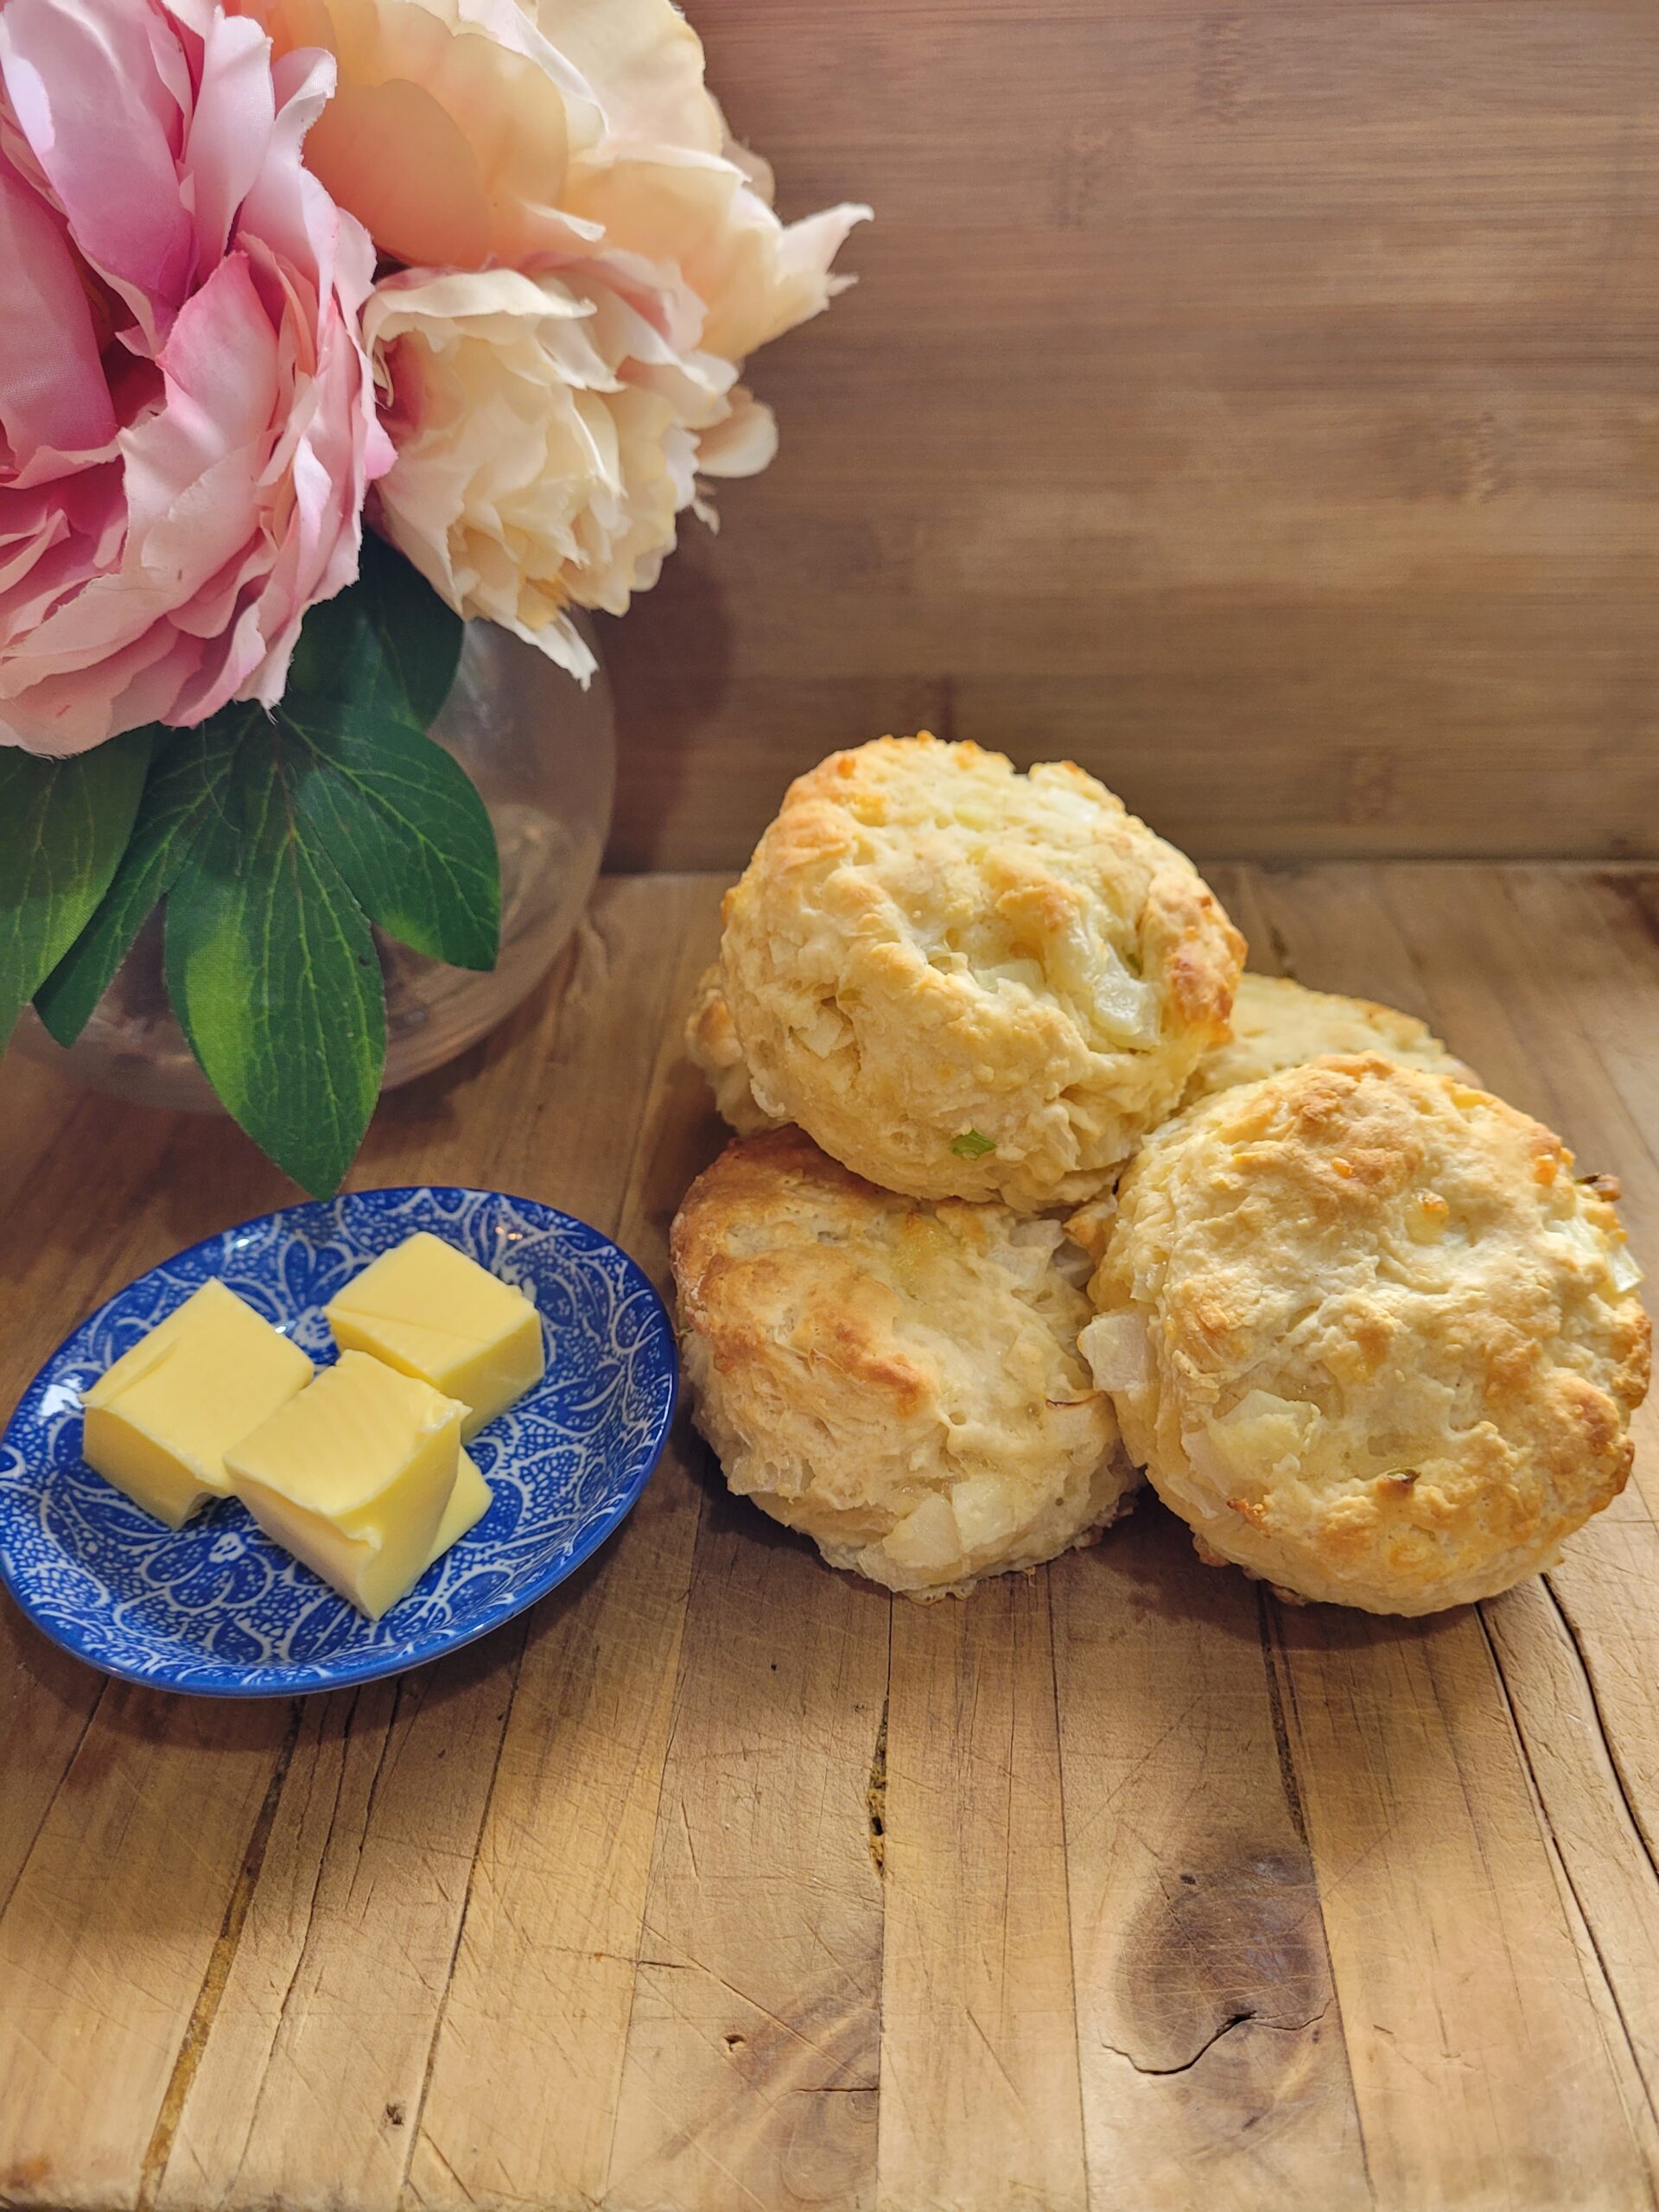
If there’s one thing that brings comfort to a kitchen, it’s the smell of homemade bread baking in the oven. These cheesy ham soft bread rolls are a total crowd-pleaser. They are pillowy soft and golden topped. They are packed with melty cheese and soft ham. Serve them alongside soup. Use them to make loaded lunch rolls. Pop them in the freezer for later. They’re guaranteed to be a hit. You can also use bacon instead of ham.
But beyond the ham and cheese, the real magic lies in the bread dough itself. Let’s dive into breadmaking. We will discuss choosing the right ingredients. I’ll share everything I’ve learnt for troubleshooting sticky dough. This will help you make the perfect batch every time.
The Basics of Breadmaking
Breadmaking might seem like a bit of a science. To some degree, it is scientific. However, it’s incredibly forgiving once you understand a few key principles.
1. Flour Matters
Use high-grade flour (or bread flour) when making yeasted bread rolls. It contains more protein than plain flour. This helps build the gluten structure, giving your rolls a lovely chewy texture and soft crumb. However, I did a video. It showed three types of flours, including plain. It did work just as well if that is all you have. To see this video, you can watch it here: Three Types of Flour for Bread Making | Which is The BEST??
👉 NZ tip: In New Zealand, “high grade flour” is your best bet for any yeasted bread recipe. Store brands like Edmonds or Budget High Grade work just fine for everyday baking.
2. The Role of Yeast
I use active dry yeast in this recipe. It needs to be dissolved in warm liquid (usually water or milk) to activate before being mixed into the dough. You’ll know it’s working when it becomes frothy after a few minutes.
✅ Tip: Your liquid should be lukewarm – not hot. If it’s too hot, it can kill the yeast. Aim for just warm to the touch (about 38–40°C or body temp).
3. Kneading: The Secret to Soft Bread
Kneading helps develop gluten – the stretchy strands that hold in air and give bread its soft texture. You can knead by hand or with a mixer fitted with a dough hook.
⏱️ Knead the dough until it is smooth and elastic. This usually takes 8–10 minutes by hand. If using a mixer, it takes 5–7 minutes.
💡 Windowpane test: Take a small piece of dough and stretch it between your fingers. If it forms a thin “window” without tearing, it’s ready.
4. First Rise – Don’t Rush It
After kneading, leave the dough to rise until doubled in size. This usually takes 45–90 minutes, depending on the warmth of your kitchen. A sunny windowsill or gently warmed oven (turned off) can help.
🍂 Seasonal tip for NZ bakers: In winter, I pop the covered dough beside the fire box. Works a treat on chilly days.
🧊 Freezer-friendly hack: Once baked and cooled, these rolls freeze beautifully. I wrap them individually and freeze in a zip lock bag. To serve, thaw and reheat in the oven or air fryer.
🍞 Shaping & Final Rise
Roll your dough into equal-sized balls and place them close together in a greased or lined tin. This “pull-apart” style helps keep the sides soft and pillowy.
Let them rise again until puffy – this second rise is key for lightness.
Quick tip: If your dough is sticky while shaping, lightly flour your hands (not the dough). Too much added flour can dry out the rolls.
These super easy bread rolls go great with soup. They will add extra heartiness to your dinner or lunches. Here are some great soup recipes to try.
Cozy Comfort in a Bowl: Creamy Mushroom Soup & Potato Leek Soup
Warm Up Fast with These 2 Easy Soup Recipes
🧡 Final Thoughts
There’s something incredibly satisfying about making your own bread from scratch – especially when it’s loaded with bacon and cheese! Whether you’re baking for the lunchbox, the freezer, or a cozy family dinner. These cheesy bacon soft bread rolls are sure to become a go-to.
Give them a go, and don’t be surprised if they disappear faster than you can say “just one more…”
The Fluffiest Cheese and Ham Bread Rolls

Ingredients
- 2 cups warm water (add another 1/2 cup of water if you are USING milk powder)
- 2 heaped tbsp milk powder (only ADD this is you are NOT using milk)
- ½ cup warm milk (if you are NOT using milk powder)
- 6-7 cups plain flour any flour can be used
- 2½ tsp yeast I used instant
- 2 tbsp sugar or honey feel free to add less, but the rolls have a nice sweetness to them
- ¼ cup melted butter you can use soft butter if you have it
- 1 cup grated cheese I used mild
- ½ cup diced ham or cooked bacon (optional)
- 1 tsp salt
Instructions
- Add water, sugar, butter and yeast into a mixing bowl. If you are using milk add this now, if you are using milk powder add it with the flour.
- Let the yeast bloom for roughly five minutes.
- Once the yeast is activated, add the remaining ingredients. When adding the flour, start with only using six cups first and set aside the remainer cup of flour if needed.
- Bring the mix together using a wooden spoon until it forms into a rough dough ball.
- Turn the dough out onto a floured surface or silicone baking mat.
- Knead the dough for a couple of minutes. Only add some flour if it is too wet. The dough should remain slightly tacky at this stage though.
- Place the dough back into the bowl and set aside covered in a warm spot for an hour.
- Turn the dough back out onto the floured surface and divide the dough evenly. I get roughly sixteen lunch-sized rolls out of this recipe. Watch the video for tips on rolling out the dough.
- Place the dough balls onto a lined baking tray and leave in a warm spot for another 30 minutes or until doubled in size,
- Once they have risen, cover with grated cheese and diced ham.
- Bake the rolls in a pre-heated oven at 180℃ fan bake for around 12 minutes until golden brown.
