No-Knead Bread the Easiest Loaf you will ever Make!
Make this easy, hands-off bread the next time you next to whip up a loaf. You could shape it into a loaf size or a round loaf. Delicious and practical means it is a kitchen favourite to make.
This simple and easy bread is fantastic because it is very hands-off. You don’t have to knead it, just mix it together with a wooden spoon and set it aside for as long as you like.
You could also make this bread the night before and cover the bowl then pop it in the fridge.
In the morning take it out of the fridge and let it warm up and rise for at least 3 hours. The bread has a low yeast amount, so the longer you leave it to rise the first time the better the loaf will be.
What shape loaf should you make?
That totally depends on you and what equipment you may have. I like to use this casserole pan from the Warehouse
You could also use this one from Amazon Basics Enameled Cast Iron Round Dutch Oven with Lid
I also have a USA Pan Bakeware Pullman Loaf Pan with Cover I love this pan as it makes a nice square loaf
At the end of the day, you can just use whatever you have available, and I am sure it will turn out just fine.
How to make your loaf
I always like to proof my yeast beforehand, as it saves on some wastage if you think your yeast is fine, but it is not as active as you had hoped.
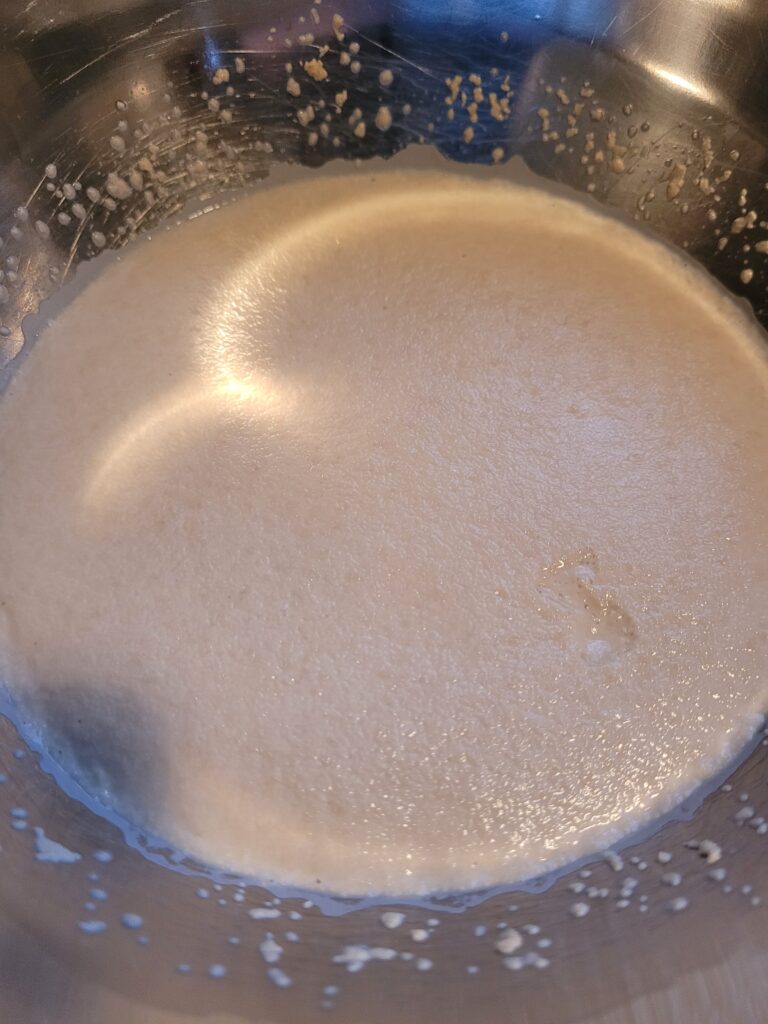
You can easily look to see how the yeast is by adding it to the warm milk or water with a little sugar to feed it. Leave in a warm spot for around five minutes and it should look like this photo below.
I use any type of yeast. I buy the 500g block from Gilmour’s and store it in the freezer. Once I open a packet, I place it in a large glass jar and pop it in the fridge. It will last several months in the fridge just fine.
It is also absolutely fine to use yeast well past its best by date. The blocks I brought in 2020 and have been in the freezer are still working just fine for me. As long as you proof your yeast first to test it is still active.
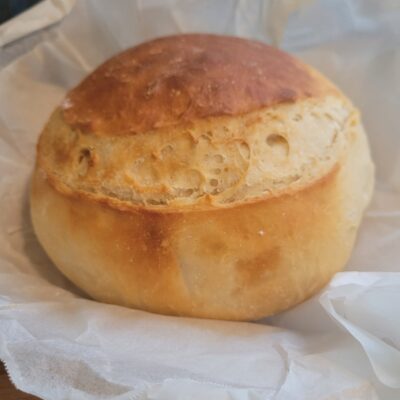
No Knead Bread | The easiest loaf you will ever make
Equipment
- 1 Cast Iron dish with a lid or a bread loaf tin
Ingredients
- 1½ c warm water
- 1½ tsp yeast
- 2 tbsp sugar or honey
- 2 tbsp milk powder
- 3 c flour I use premium garde
- ½ tsp salt
Instructions
- Add the first 3 ingredients into a bowl.
- Stir and allow time for the yeast to activate. Follow the instructions from the video regarding the right temperature for the yeast mixture
- Once the yeast is activated, add the remaining ingredients.
- Mix with a wooden spoon until just combined. The dough will be shaggy and wet and that's perfectly fine.
- Cover and leave to double in size for at least 1 hour. I personally like to leave mine for at least 3 hours.
- Flour the bench and your hands and turn the dough out onto the bench. Using your hands keep folding the dough over into the center to form a nice round shape. The top of the loaf will form a nice tight top once turned over.
- If you are making a round loaf, place the round shaped dough in a bowl on a sheet of baking paper.
- If you are making the bread in a loaf pan, shape the loaf into the rough length of your loaf pan. The video shows you how to shape the loaves as well. Leave the dough in the tin for its second rise.
- Preheat the oven and the cast iron pan if you are using one to 180℃ fan bake.
- Set the loaf aside to rise for the second time, roughly 30 minutes or until doubled in size.
- Once the dough has risen, transfer very carefully into the hot cast iron pan.
- Bake covered for 20 minutes. After 20 minutes, take the lid off and finish baking until golden brown.
- If using a loaf pan bake uncovered until cooked through and golden brown.
- Once the loaf is cooked take it out of the pan and leave it to cool on a cooling rack.
